Chord organiser panels overview
Just as a Frettler document can contain many fretboard panels, it can also contain chord organiser panels mixed with those fretboard panels. Whereas a fretboard panel is configured to show a specific scale, mode or chord, and provides a configuration panel to change its nature, chord organisers are generic containers for chords - they can contain whatever chords you choose, up to a maximum of twelve.
Just as fretboard panels can be dragged within the same or another document, so too can chord organiser panels. And just as a fretboard dragged or copy/pasted into another document, changes to show the new documents instrument and/or tuning, so too do chord organisers.
-
Organiser configuration
Chord organiser panels have an edit config button, like fretboard panels, but the only thing that can be changed is the panels title. Chord diagrams within an organiser also have an edit config button, which opens an edit sheet within which the chords root note and pattern can be modified. -
Organiser panel controls
Chord organiser panels have two controls on their top right, similar to those in fretboard panels:
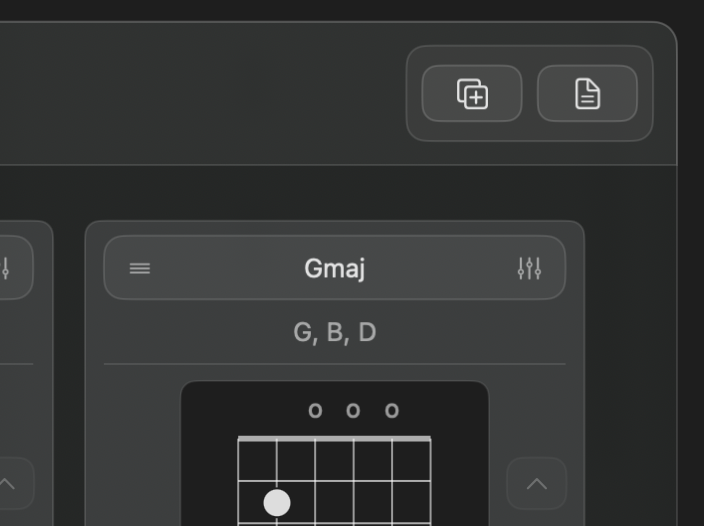
Chord organiser controls The first of those controls opens the 'Add chord' dialog, from where you choose the root note and pattern type for the new chord:
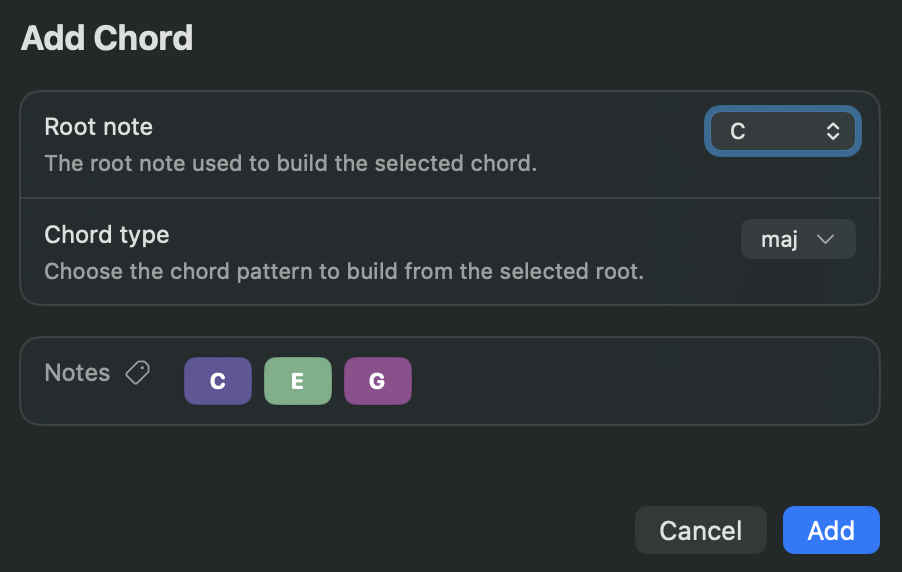
Chord organiser add chord dialog Only twelve chords can be added per organiser panel - if more are needed, create another chord organiser panel and place chords in that.
With Chord Organsisers, either the organiser itself or one of it's chord diagrams can have the focus. Click the title of either to give it focus. Either can be deleted with the [Delete] key (don't forget you have Undo), and chord diagrams can be dragged by their title to re-arrange them within the organiser, or even be dragged into another organiser, in the current document or another.
The second control is the notepad button, opening an editable area in which text can be added for the panel. And like the fretboard panel notepad, it can then be hidden by clicking the notepad button a second time.
-
Organiser navigation
Clicking the title of a fretboard panel gives it the focus, and keyboard up/down navigation moves that focus to adjacent panels. That focus can transfer to a chord organiser panel, or it can be forced by clicking its title.
Once a chord organiser has the focus, pressing the [Right Arrow] key will move the focus to the first chord diagram within it. Pressing the [Left Arrow] key instead would move the focus to the last chord diagram. Subsequent left/right key presses will move the focus as you would expect amongst the diagrams.
Chord diagrams may be moved to the left or right using [Option] with [Left Arrow] or [Right Arrow] keys.
Clicking the diagram or pressing the [Space] key plays a strummed preview of the focused chord. The speed of the strum can be changed in the Chords tab in menu item “Frettler” → “Settings”. The strum will default to play from the lowest pitched string to the highest, but can be reversed by holding down the [Option] key as you click the chord diagram, or by keys [Option] [Space].
-
Organiser chord diagrams
When Frettler calculates the chord voicings shown in the diagrams within a chord organiser, it looks at all the permutations of the chords notes across the entire fretboard and runs each fingering through a complex scoring algorithm, trying to determine the merits of each ie would it require too many fingers, is the fret span too large, would fingers be too contorted etc as well as ranking the permutations by their musical correctness. It builds a list sorted by fret and ranked by what it considers to be the playability of the voicing.
The diagrams will default to showing what Frettler considers to be the most appropriate voicing at the top of the fretboard, and provides navigation controls within the chord diagram to enable selection of alternative voicings.
By default it will filter out voicings containing inner muted strings, but if you want those to be shown, there is an option to include them, within the Chords tab in menu item “Frettler” → “Settings”.
Some voicings will naturally have a leading note other than the root. That leading note is still a valid part of the chord, but as the chord strummed will not start with the root, it will have a different audible characteristic. Those voicings are known as inversions and are identified by a blue info symbol to their left, which when clicked will explain the inversion. Note that the diagrams title changes to show the inversion also.
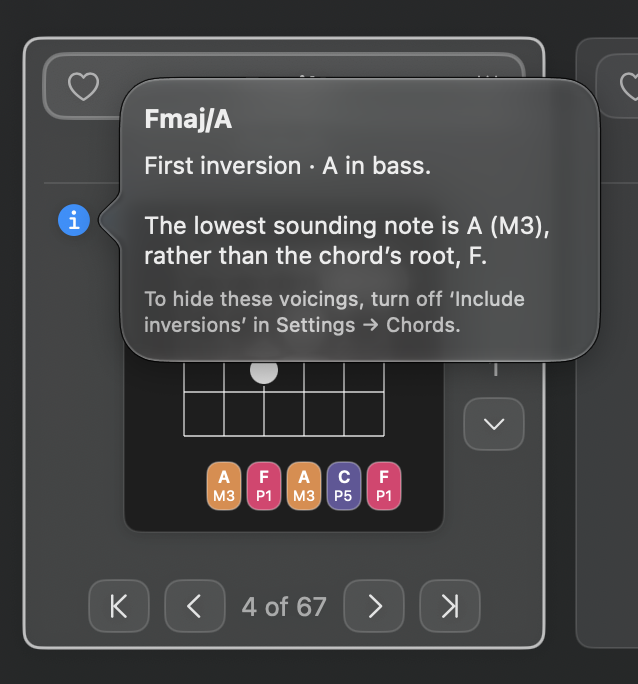
Chord diagram showing inversion In the title bar of each chord diagram is a heart icon.
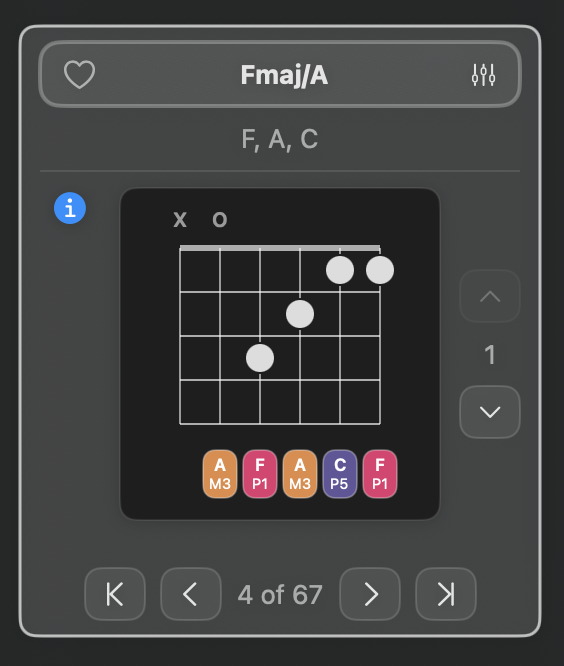
Chord diagram in default state As Frettler can calculate so many variant voicings, and you may prefer one voicing over another, you can choose to favourite a specific voicing, by clicking the heart icon. Clicking an already favourited voicing will remove that favoured state. Frettler will remember your favourite voicings for any instrument/tuning combo wherever it is used. Favourites set on a guitar in standard tuning will be different to favourites on a guitar with drop D tuning, because the voicings for the same chord will themselves be different, using the same instrument and tuning combination. Each time a diagram is created for that chord, it will show your favoured voicing immediately.
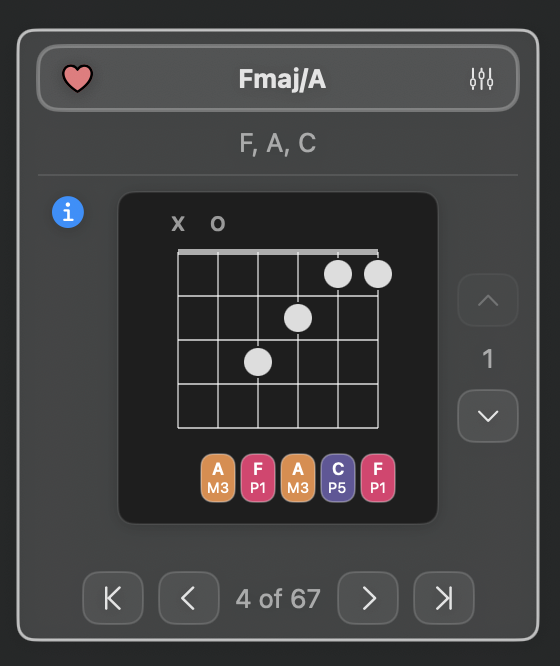
Chord diagram showing favourited state There are rare chords which to be musically faithful would require more frets to be fingered than are possible, and for those chords it will fallback to selecting voicings which contain what are considered to be the most important characteristics. i.e. it will sacrifice notes for intervals which are considered to be less important than others. When it does this it will display an orange warning '!' marker next to the diagram, and clicking that will show which intervals have been sacrificed.
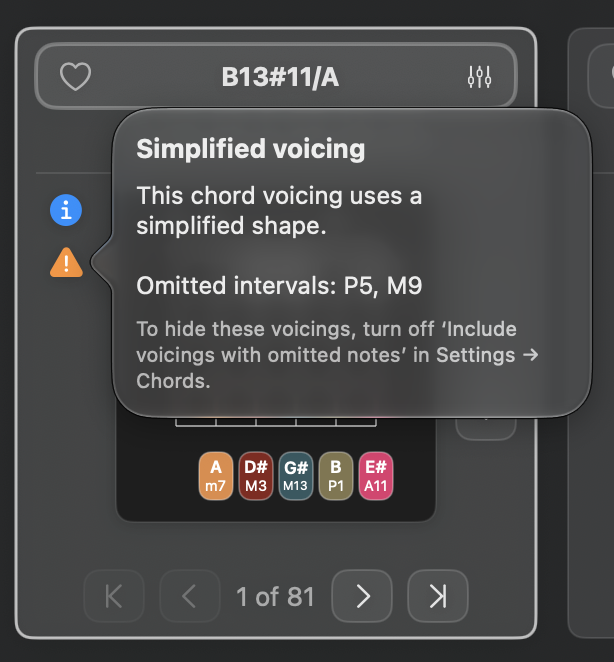
Chord diagram showing omitted intervals